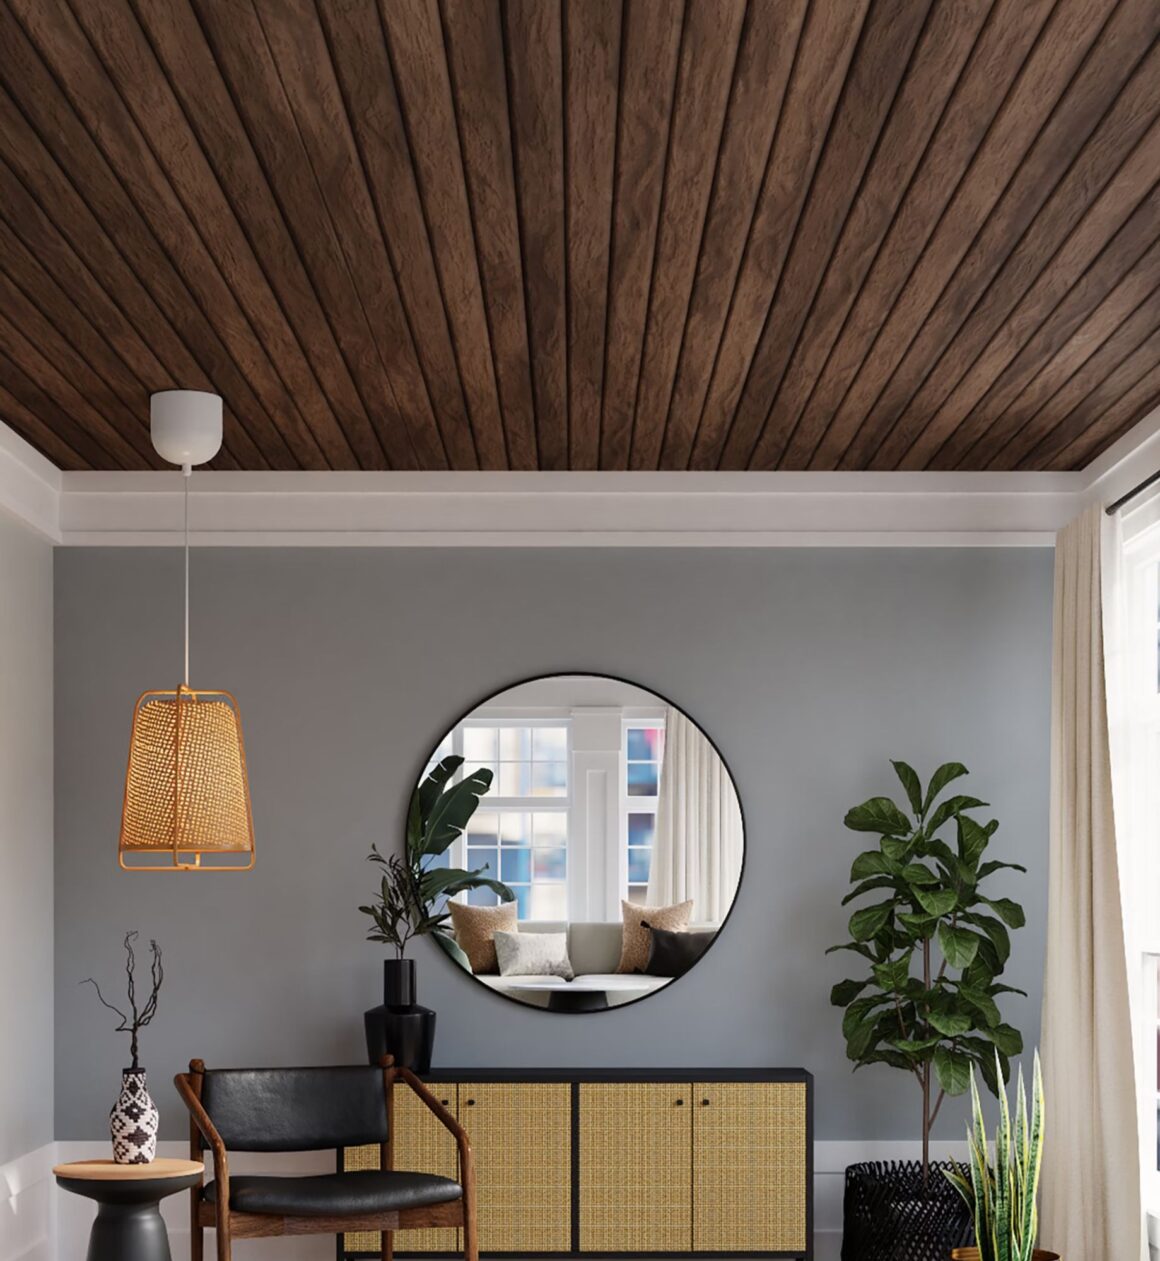
There is no denying the timeless appeal of barn wood walls. Given its unique character, rustic appeal, and eco-friendly, preserved nature, it’s no surprise that this design style is becoming increasingly popular among homeowners.
The appeal of rustic aged wood slat wall panels entices anybody seeking to bring a little earthy and natural beauty into their living areas.
Before installing a barn wood wall, it’s essential to take a moment to consider important factors. By following the questions outlined in this blog post, you can ensure the success of your barn wood wall installation.
Question 1: What’s Your Design Vision?
It’s essential to have a distinct vision and aesthetic before installing barn wood walls. This will act as your compass, making sure that each design choice you make complements your overall aesthetic and gives the room a unified, purposeful appearance.
Barn wood walls are one adaptable design feature that works well with many different home types. Warm, rustic tones, and natural imperfections in barn wood may work wonders for a farmhouse-inspired decor. It can also look great on more contemporary clean-line homes.
Adaptable barn wood wall installation is popular for exquisite feature walls, accent pieces, and room designs. The following barn wood ideas will help you makeover your rooms and home:
- Barn Wood Striped Wall: Arranging a striped design to create a visually arresting focal point.
- Vertical Barn Wood Background: Adding dimension and visual appeal to a space.
- Bedroom Barn Wood Feature Wall: Installing rustic barn wood for a fascinating accent wall in your bedroom.
- Barn Wood Accent Wall: Using barn wood to draw attention to a particular section of a space.
- Bathroom Barn Wood Walls: Enhancing organic and earthy atmosphere in your bathroom.
- Featuring Wainscoting: Using barn wood wainscoting for a classic and ageless look.
- Using Barn Wood with Unconventional Angles: Playing around with the unusual visual position of the barn wood.

Think about the general vibe you want to create as you gather your inspiration:
- Is it elegant and sophisticated or warm and welcoming?
- Which kind of room do you picture—bright and airy or rich and moody?
Make an inspiration gallery or mood board to help you focus on the exact style and vibe you want. This might be a collage created using paint samples, fabric swatches, and magazine cuttings.
Or you can make a digital collection of images carefully chosen from sites like Pinterest or Canva. Having this visual library around will help you make more cohesive barn wood wall installation decisions.
Question 2: What’s Your Budget and Timeline?
When it comes to the materials and the work needed for installation, barn wood wall installation can be a significant investment. That’s why being aware of the related expenses and schedule is crucial.
To ensure you don’t go over your budget, we advise doing research and comparing costs from different installers and vendors. Remember that the cost might vary depending on the barn wood source, the material condition, and the installation complexity.
Furthermore, remember to consider extra expenses or hindrances that can occur throughout the project. These can rapidly mount up and deviate from your original budget. With the support from skilled teams like Wood Walls, the process will be much shorter and less costly.
Question 3: Can You DIY a Barn Wood Wall Installation?
The idea of doing the barn wood wall installation yourself is quite alluring for hands-on homeowners. In the end, completing the installation task on your own might provide a feeling of achievement and even result in cost savings.

But to construct a barn wood wall yourself safely and successfully, you should carefully consider the skills, equipment, and safety precautions needed.
Precise wood panel cutting, fitting, and fasting are necessary since even little errors can affect the wall’s overall appearance and structural soundness.
A do-it-yourself barn wood wall installation can be plausible if done comparable home renovation tasks before and have access to the required tools and safety equipment.
However, if you’re unsure about how to install reclaimed wood wall, it’s always best to employ a professional installation for larger and more difficult tasks. They will have the know-how to guarantee that your new barn wood wall installation is both aesthetically pleasing and sound structural.
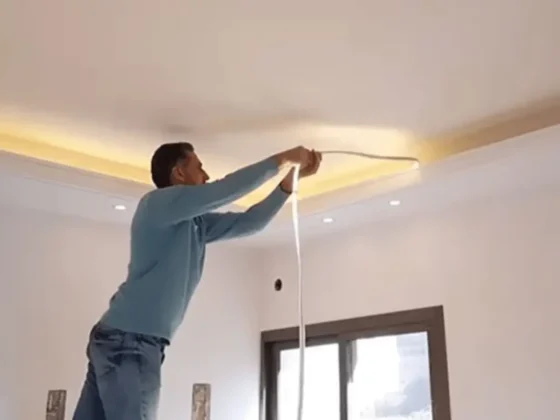
Question 4: How Will You Prepare and Install Barn Wood?
One of the most exciting parts of barn wood wall installation is attaching the barn wood panels to your wall. However, before beginning, you should complete a few crucial tasks.
-
Cleaning and cutting the barn wood
The first thing you should do is thoroughly clean your barn wood.
This will assist in clearing away any residue, dirt, or waste piled up over time.
After the wood has been thoroughly cleaned, you may begin cutting it to size. Use an electronic or manual saw to take precise measurements and prepare those components.
-
Keeping the barn wood secure
It’s almost time for the exciting part: installation!
Use a mix of construction glue and screws or nails to fix the barn wood panels in place. This will form a strong, long-lasting connection between the wood and the wall.
As you go, pay attention to any holes or uneven areas and fill them with wood filler or trim pieces.
-
Safety Comes First
During this process, safety must always come first. Thus, make sure you have on the proper protective clothing, including gloves and goggles.
Additionally, if you are unsure about your abilities or the job difficulty, don’t be afraid to get in touch with a professional installation. Your new barn wood wall will look great and be structurally sound thanks to them.
-
Having Fun With the Process
You can easily add the cozy and rustic charm of reclaimed barn wood to your room with a little planning and the appropriate methods.
The barn wood wall installation should be an enjoyable process. So, don’t put too much pressure on yourself.
Question 5: How Will You Maintain the Barn Wood?
Now is the moment to discuss maintaining their finest appearance for many years. With a little regular care and attention, you can keep the rustic and aged beauty intact.
-
First, lightly clean your barn wood walls every few months
Just giving it a quick wipe down with a moist towel will do instead of an extensive cleaning. Don’t use abrasive cleansers and strong chemicals on wood since they can harm the natural patina.
-
Next, use a sealer to protect the barn wood surface
Think about using a transparent sealer as a protection layer.
This will protect against fading and scuffs caused by normal wear and tear. Just remember to reapply the sealant when needed, or every 12 to 18 months.
-
Utilize wood filler
Don’t panic if you do spot any age marks, such as discoloration or cracks!
Well-placed staining with a small amount of wood filler may be effective. You should welcome the wood’s organic development and its own character as it changes with time.
Ready to Get Your Hands Dirty With Barn Wood Wall Installation?
Answering these questions can help you create a stunning design that will inspire and fascinate you for years.
Are you prepared to begin building a barn wood wall? You can get help from WoodyWalls professionals. With sustainable materials, our specialists and designers will make your ideas come true.