Have you ever used recessed LED strip light systems before? If not, maybe it’s time to give these a try. They are an excellent solution if you wish to add light to your space, along with an aesthetically pleasing appeal, and a calmer vibe to your house, flat, or apartment. It all comes down to precise installation, as well as knowing where to utilize these lights and in what rooms. Here’s what you need to know, and here is why it is important to choose a professional tape light channel.
10 Tips for Installing Recessed LED Strip Lighting Professionally
1. Consider your layout
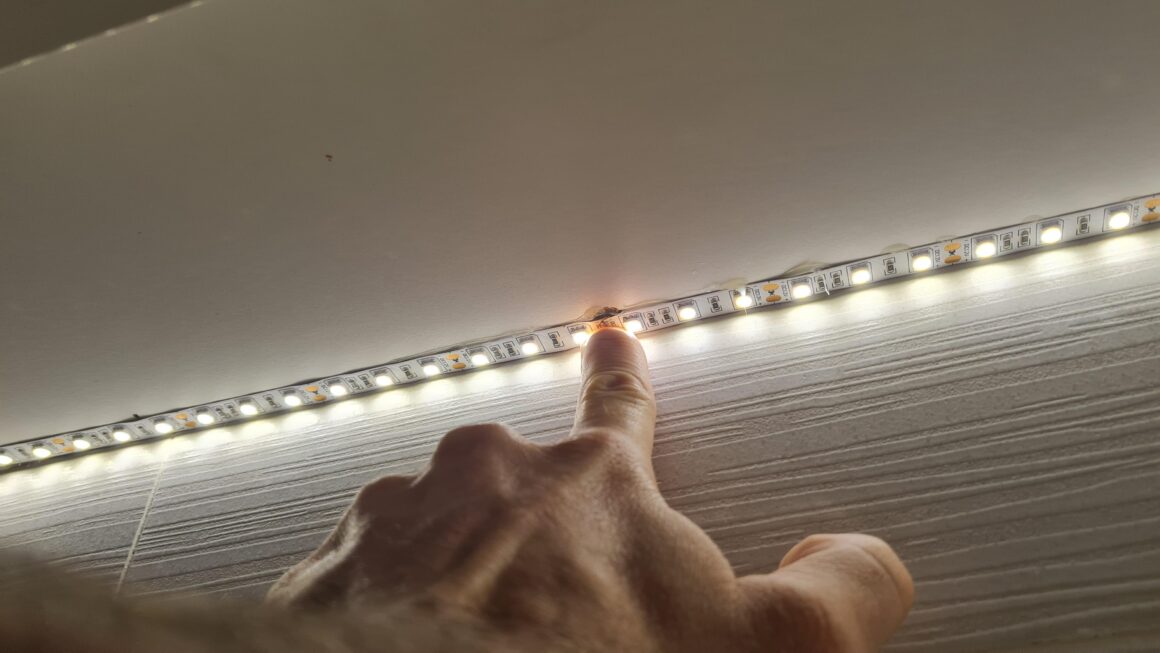
Think about the layout of your LED strip lighting. Where do you want to add an accent of light, color, or general illumination? You can sketch out your design and do subtle planning. Once done, this will help you understand all the outlets and power sources that you have at your home. Proper planning and planning from early on will allow you to avoid any mistakes, unnecessary drilling, and the need for new touch-ups.
2. Measure it early on
Accurate measurements along with the use of proper tools are essential for a flawless installation. If you can’t do it alone or if you’re not that skilled or handy, ask a professional for their help. Measure the areas where the LED strips will be installed before cutting. Ensure your measurements are correct and remember it’s always better to have a little extra strip than to fall short.
3. Select the right type
Nowadays, you can pick out several different types and brands, so figuring out which one to go for is a challenge. For some people, less is more, while others may prefer a variety when it comes to their LED lights. Overall rule? Choose strips that match your desired color temperature and brightness levels. Ensure the LED strips are suitable and easy to install within your room. Some may be too thick and not suitable for areas that are filled with moisture, such as bathrooms or kitchens, so take this into account before you make your purchase.
4. Prepare the surface for your light
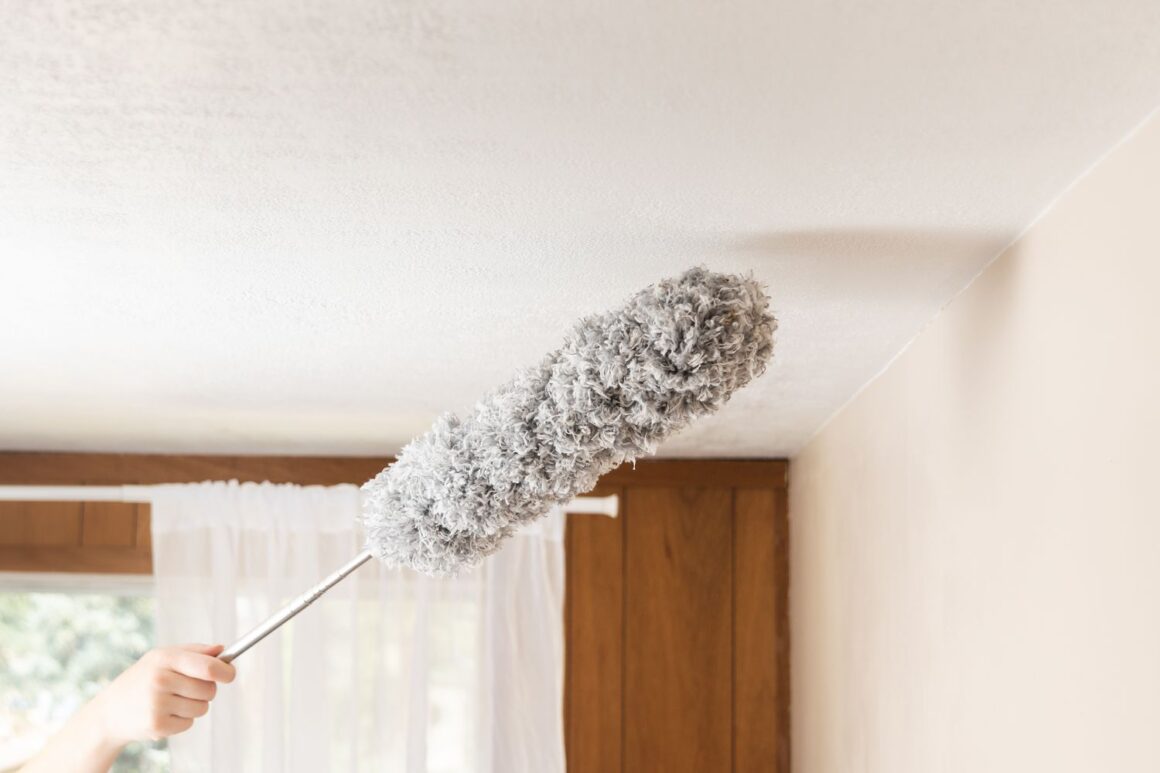
You can only work on top of a clean surface if you’re aiming for long-lasting results and if you wish to set up your lights properly. So, clean the installation area to remove any dust or grease, as well as debris. A clean surface will ensure the adhesive sticks the strips in place. You will avoid uneven results, while your lights will easily adhere to most walls, ceilings, or objects.
5. Use recessed channels
Did you know that recessed channels provide a professional and polished look? They protect the LED strips and diffuse the light for an even yet soft illumination. Secure the channels firmly before placing the LED strips inside. With the help of recessed channels, you’ll end up with a proper outcome for your personal use. This LED Tape Channel is perfect for 1/2 inch drywall, while being available in several different colors, lengths, as well as diffusers. The standard length is 1M and 2M; you can cut to any size you want. Three types of diffusers are available: PC Clear Diffuser, PC Semi-Clear Diffuser, and PC Opal Diffuser. See for yourself and enjoy the results!
6. Handle with care
Careful handling is paramount for any household renovation or maintenance. The more gentle you are, the better the results, yet you won’t stress about the cleanup part. You need to have a delicate approach and handle the installation without causing any damage. Not only that, but avoid bending the strips too sharply as this can damage the internal circuitry. You can peel off the adhesive slowly to prevent any type of tearing. In the end, use connector clips to navigate turns or corners. Remember that practice makes everything perfect in this case.
7. Ensure proper ventilation at your home
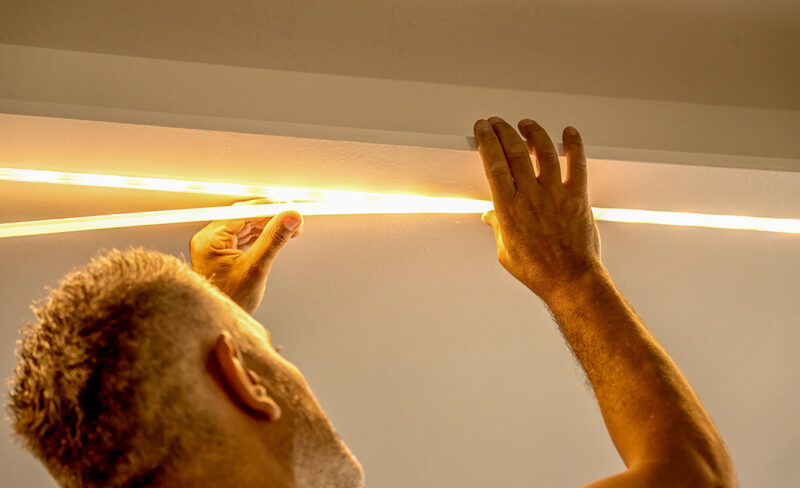
LED strips generate heat, which is why it’s vital to have crucial insulation to prevent overheating and to have them run and operate successfully. Your skilled technicians will advise you to avoid installing strips in completely enclosed spaces without airflow. Recessed channels with proper ventilation allow heat to dissipate, maintaining the strip’s performance and lifespan. Remember this rule before you begin the installation process on your own.
8. Secure electrical connections are paramount
Make sure to ensure all electrical connections are secure and well-insulated. If you’re working with loose or exposed connections, this will lead to short circuits or possible fire hazards. In the end, aim for proper connectors and connections that are properly insulated and tight, as well as easier to install and operate.
9. Test before final installation
Before everything is in use or ready for your set-up, make sure you ensure the strips work correctly. Connect the strips to the power supply and check for any issues like flicking or uneven lighting. These are easier to fix at this stage as you’d assume, and with the right equipment and approach, you’ll be able to get rid of any issues within minutes. Not only that, but you might also ask for a partial refund.
10. Consider smart controls
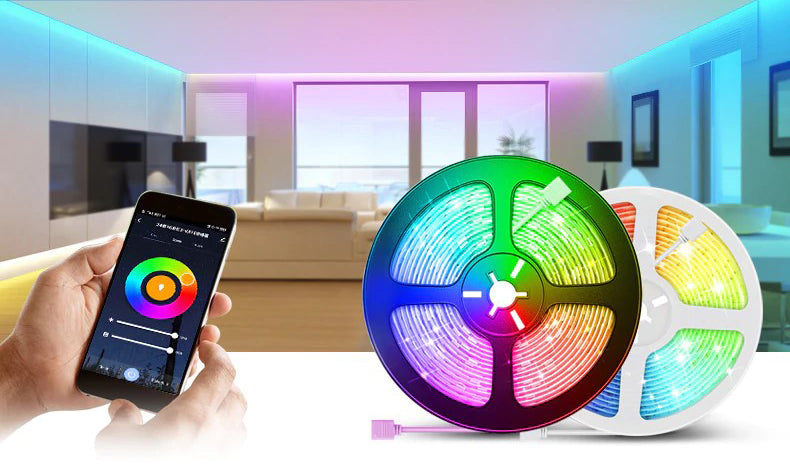
Integrate smart controls with LED strip lighting for proper customization. With smart dimmers and timers, you will enjoy better and easier color-changing options. Ensure compatibility between your LED strips and Smart Control systems for seamless usage. You can set your lights based on your mood, occasion, time of the day – you name it!
Having said all of that
Installing recessed LED strip lighting professionally requires careful planning and precise measurements, as well as your delicate approach and a bit of your spare time. In the end, you should follow all of these tips to achieve a modern look at your home or in your apartment. It doesn’t matter if you’re a DIY pro or someone who loves to install things with the right crew, this article is beginner-friendly and perfect for anyone who needs new LED tape lights!


