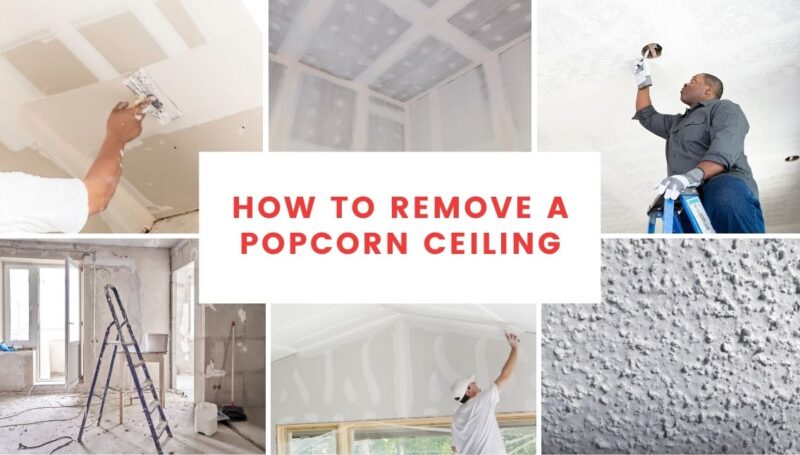
Popcorn or acoustic ceilings were a popular home design trend in the mid-20th century. They were used to reduce noise levels in homes and buildings and to cover up imperfections in ceilings. However, these textured ceilings have become outdated over time and can make a space feel cramped and outdated. That is the main reason why many homeowners are now choosing to remove popcorn ceilings and replace them with a smooth finish, which can make a significant difference in the look and feel of a home.
While popcorn ceilings may have been popular at one point, they have become a liability for many homeowners. They are unattractive and can also contain harmful asbestos fibers in older homes, which can be hazardous to your health. By choosing popcorn ceiling removal, you can not only update the look of your home but also make it a safer and healthier place to live. In this article, we will guide you through the removal process so that you can enjoy a brighter, more spacious home.
Benefits of Removing
One of the main benefits is that it can instantly update the look of a room and make it feel more modern and spacious. Smooth ceilings can also help brighten up a room by reflecting light more evenly, making a significant difference in smaller spaces.
Another benefit is that it can help to improve air quality and reduce the risk of health problems. Those installed before the 80s may contain asbestos fibers, which can be harmful when inhaled. Removing it can create a safer and healthier living environment for you and your family.
Required Tools and Materials
The process can be messy and time-consuming, but it can be done safely and effectively with the right tools and materials. Here are some of the essential items you’ll need for the job:
- Safety goggles and a dust mask
- Covers to protect floors and furniture
- A ladder
- A spray bottle filled with water
- A putty knife or scraper for scraping off the texture
- A sanding block or drywall sander to smooth out the ceiling
- Joint compound or plaster for filling in any gaps or imperfections
Before you begin the job, testing for asbestos is also a good idea. You can purchase a test kit from a home improvement store or hire a professional to do it for you. If your ceiling does contain asbestos, it is important to take the necessary precautions to ensure your safety, such as wearing a respirator and sealing off the area.
How to Safely Remove Toxic Substances?
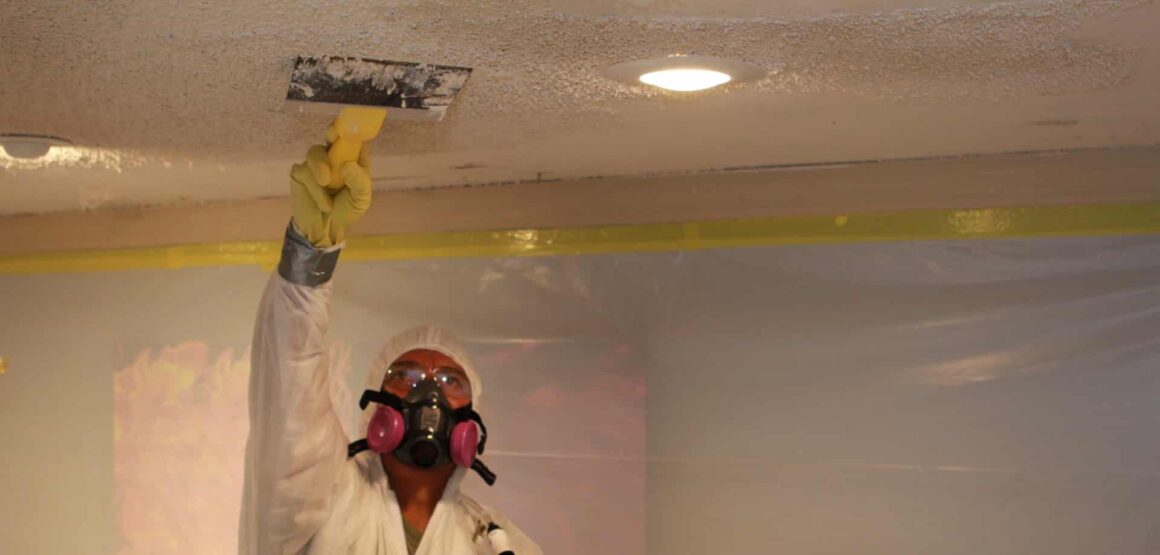
As mentioned, this toxic substance can lead to various health issues. If there is asbestos, taking the necessary precautions to remove it safely is important. The safest way to remove it is to hire a professional abatement company. These companies have the necessary equipment and training to safely remove this toxic material and store it in the right way.
Suppose you choose to remove it yourself. In that case, it is important to follow the proper safety protocols, including wearing a respirator, using a HEPA-filtered vacuum, and sealing off the area to prevent the spread of asbestos fibers.
Step-by-Step Instructions
Remember that it will require some experience and the right tools. If you choose to go through this process on your own, here are some step-by-step instructions to guide you:
- Prepare the room by covering furniture and floors with plastic sheeting. Remove any light fixtures or fans and turn off the power to the room.
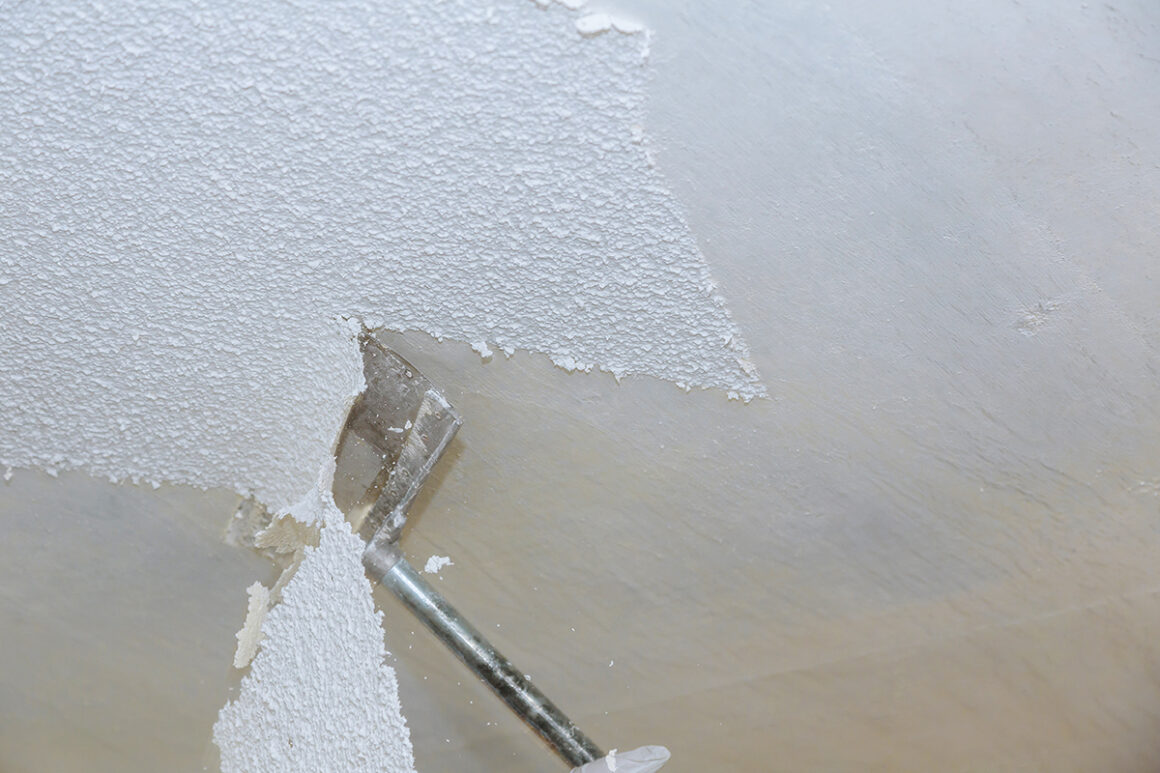
- Spray the water to dampen the texture and make it easier to scrape off.
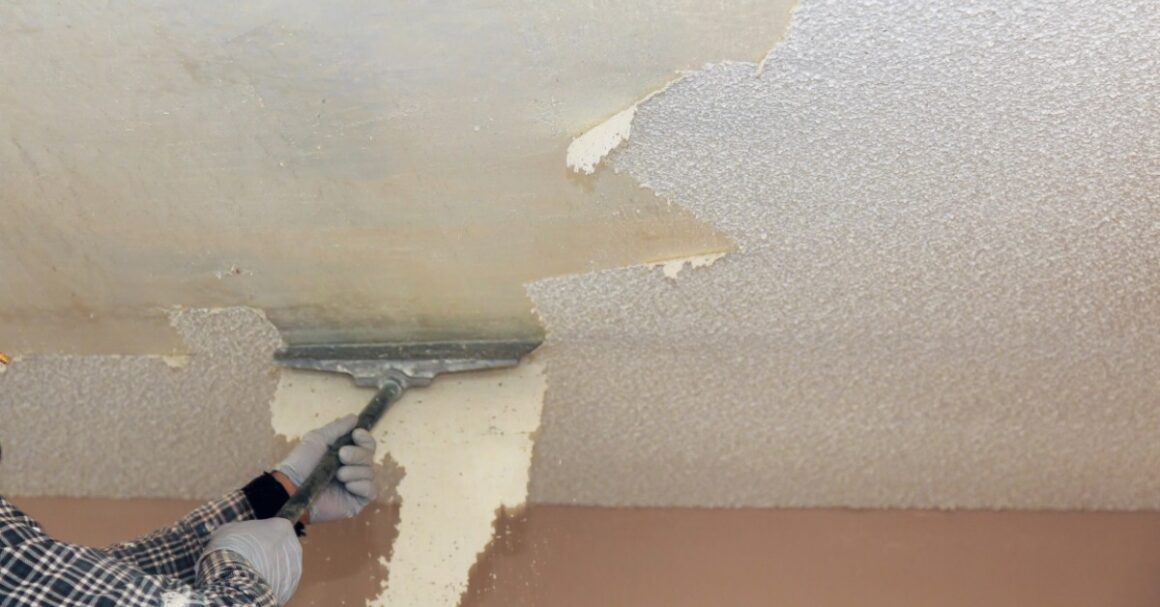
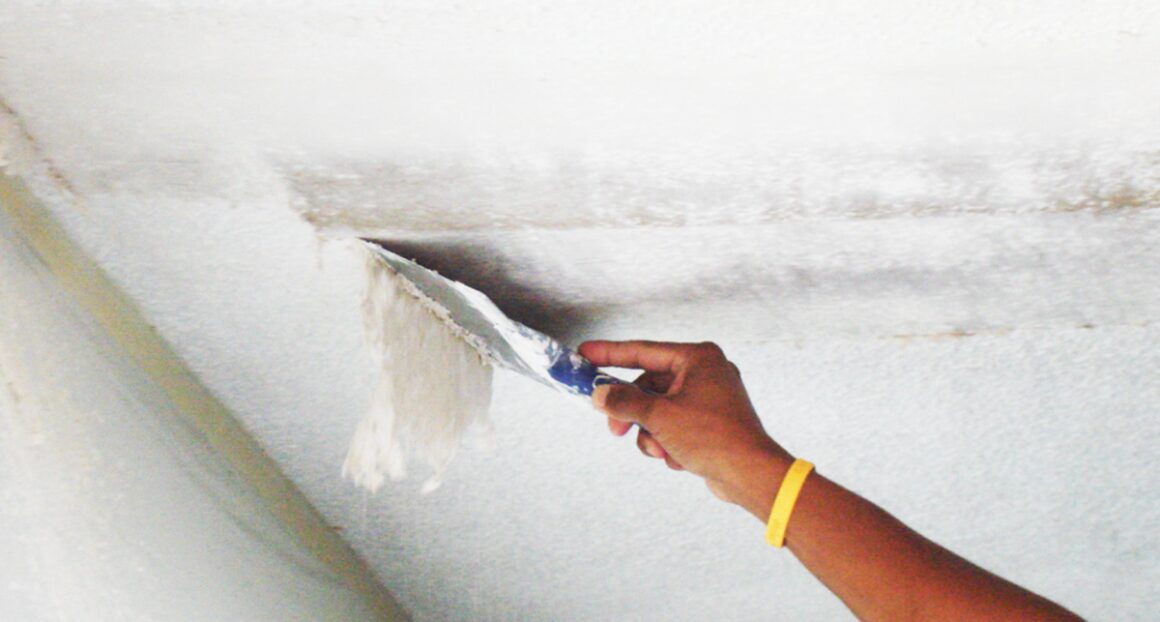
- Use a putty knife or scraper to scrape off the texture gently.
- After removing the texture, use a sanding block or drywall sander to smooth the surface
- Fill in any gaps or imperfections with joint compound or plaster.
- The last step is to apply the paint.
Tips for Finishing

Once you have removed your popcorn ceiling, you will want to ensure your new, smooth one looks polished and professional. Here are some tips to help you finish your new ceiling:
- Choose the right paint. Use high-quality paint with a flat or matte finish to help hide imperfections.
- Use a roller with a thick nap to apply the paint evenly and cover any remaining texture.
- Use a light touch when sanding to avoid creating new imperfections.
- Consider adding decorative moldings or trim to the ceiling for a finished look.
- Take your time and be patient. Removing can be time-consuming, but the end result is well worth it.
Cost of Removal: DIY vs. Professional
The cost can vary depending on whether you do it yourself or hire a professional. DIY option can be less expensive, but it can also be more time-consuming and difficult. Hiring a professional can cost more but save you time and ensure the job is done safely and effectively.
The expenses could be up to 4 or 5 times lower when you choose to do it alone, but it can be a good solution only if you have the proper experience and skills. It is important to weigh the costs and benefits and choose the most appropriate option for your budget and timeline.
Creative Alternatives
If you are looking for a more unique and stylish alternative, many creative ceiling design ideas should be considered. One option is a stretched fabric ceiling, which can create a modern and elegant look in your home. This type of ceiling is made by stretching fabric over a lightweight frame installed above your existing ceiling.
Another unique option is a painted ceiling mural. That is a great way to add a pop of color and creativity to your home, and it can be customized to reflect your style. You can choose from various mural designs, from a simple geometric pattern to a more detailed scene. A painted ceiling mural can be a great conversation piece and completely transform your room.
The Bottom Line
As you can see, removing this outdated style is not too complicated, but you must pay attention to some details, especially if you are not sure whether there is asbestos or not. The easiest solution is to hire a professional and secure the right quality and modern appearance.

