When it comes to protecting your home, most people think about insurance, security systems, or maybe even storm shutters. But one of the most powerful defenses you actually have?
Regular, intentional care of your home’s exterior. It’s not the flashiest topic—but ignoring it can burn a hole in your wallet faster than you’d expect.
Think of your home like a person. The outside takes all the hits—sunburn in summer, frostbite in winter, and the occasional bump or scrape from wind or falling debris. Without regular care, even the smallest issues outside can snowball into five-figure repair bills.
Luckily, there’s a plan for that. Let’s walk through a simple but rock-solid five-step exterior care plan that can save you thousands and give your home the TLC it deserves.
Step 1: Trim Back Vegetation
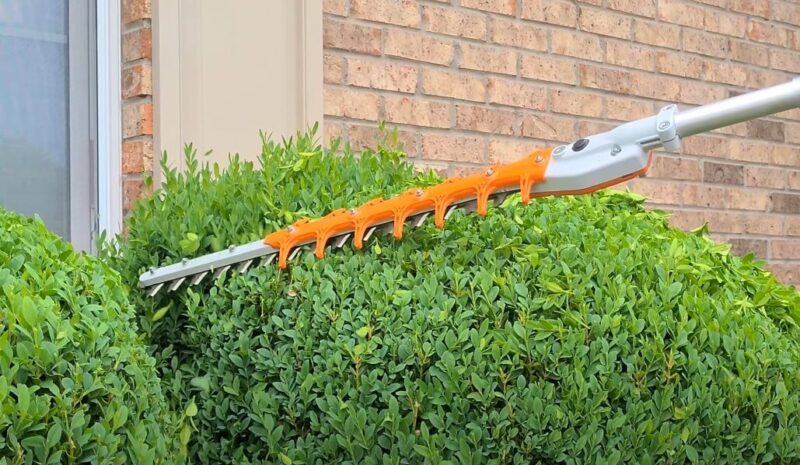
Trees and shrubs are beautiful—until they’re a little too close for comfort. Overhanging limbs can scrape against shingles, letting moisture sneak into the roofline.
Bushes pressed up against siding trap moisture and create breeding grounds for mold or termites. And once pests have a way in? It’s open season on your structure.
What to do
- Inspect regularly—especially after storms or in late summer when growth is at its peak.
- Trim branches that are within 1-2 feet of your siding or roof.
- Clear away dead or diseased plants, which attract bugs like a free buffet.
- Hire an arborist for large or high tree limbs to stay safe and get it done right.
Real-life reminder
One homeowner in a tree-lined suburb skipped trimming a maple tree leaning over the roof. A fall windstorm knocked a few limbs down—straight onto the shingles.
The result? A $1,500 leak. A simple annual trim could have made all the difference.
Step 2: Fix Cracks in Concrete
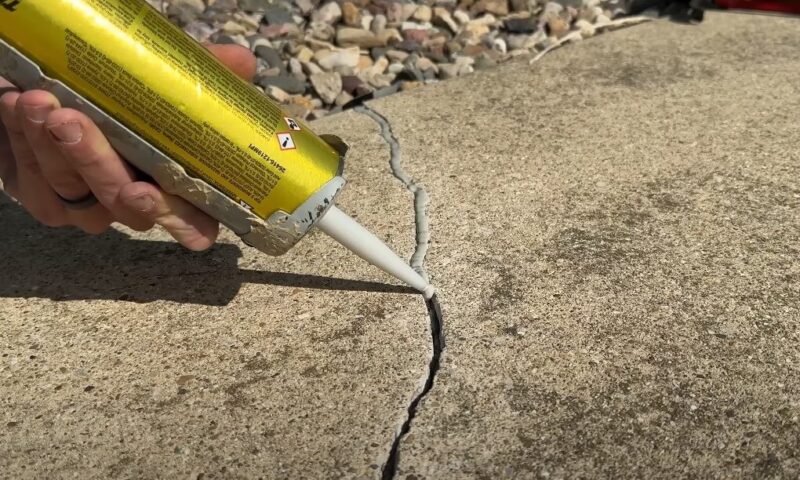
Driveways and walkways look tough, but they’re more vulnerable than they seem. Tiny cracks expand with water and temperature swings, especially in colder climates.
Left alone, those cracks can grow into tripping hazards—or worse, channel water toward your foundation.
What to do
- Inspect concrete surfaces in spring and fall—after freezing temps or rainy spells.
- Clean out the crack using a wire brush or compressed air.
- Apply patching compound for hairline cracks; use professional help for anything wider than ¼ inch.
- Seal the surface afterward to prevent water from creeping in.
Real-life reminder
A homeowner ignored a driveway crack for two years. The crack widened with every freeze-thaw cycle, eventually leading to a $3,000 repair. A $20 repair kit could’ve stopped the damage early.
Pro tip
Apply a concrete sealer every 2–3 years, especially if you’re in a region with icy winters. It’s like sunscreen for your driveway.
Step 3: Paint the Exterior
Paint isn’t just for aesthetics—it’s your home’s outer armor. When it starts to peel or crack, moisture gets in. And moisture plus wood equals rot, mold, and a welcome sign for termites.
What to do
- Walk around your house once a year and check for peeling, fading, or bubbling paint.
- Clean the surface first using a scrub brush or pressure washer to remove mildew and dirt.
- Touch up areas showing wear. If your home’s due, repaint fully using weather-resistant exterior paint.
- Watch problem spots like windows, doors, and the bottom edges of siding—they get the most abuse from water and sun.
Real-life reminder
One family waited too long to repaint their wood siding, brushing off the need as “not urgent.” Moisture got into the exposed sections and caused $4,000 worth of rot repairs.
A couple gallons of paint and a weekend’s effort could’ve avoided it entirely.
Pro tip
If paint fails fast in certain spots, there may be a hidden leak or ventilation issue. Don’t just repaint—investigate.
Step 4: Inspect and Repair the Roof
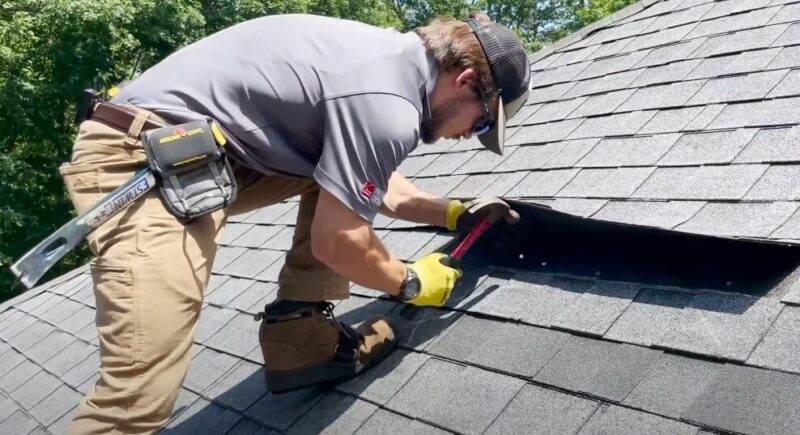
Your roof is your MVP when it comes to shielding your home. But even a small breach—one missing shingle or one loose flashing joint—can let water in.
And water inside the attic? That’s a fast track to mold, ruined insulation, and wrecked drywall.
What to do
- Look at your roof twice a year from the ground with binoculars, or climb safely with a ladder.
- Scan for missing shingles, curled edges, rusted flashing, or discoloration.
- Peek in the attic after a storm for leaks, stains, or damp smells.
- Hire a pro every 3–5 years for a full inspection, or right after a major weather event.
Real-life reminder
One homeowner saw a small wet spot on a bedroom ceiling. Instead of acting fast, they assumed it was nothing.
That “nothing” turned into a $2,500 interior repair job. The root cause? A single missing shingle that could’ve been replaced for under $200.
Pro tip
Don’t climb on the roof unless you’re experienced. For anything beyond a shingle or two, let a roofer handle it.
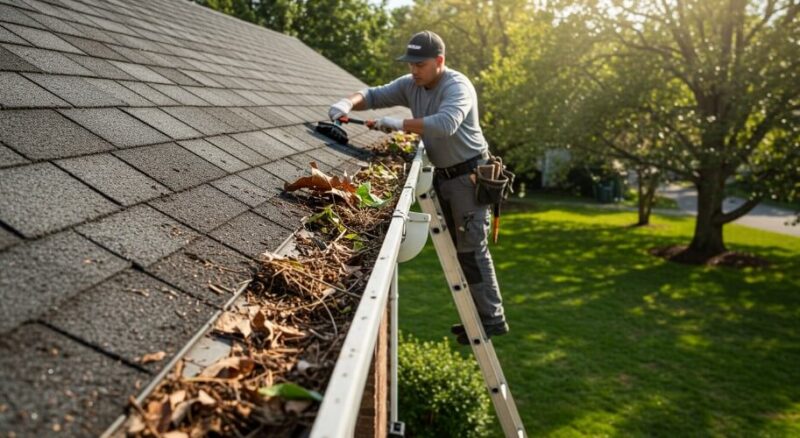
Step 5: Clean the Gutters
View this post on Instagram
Gutters are very important. They steer water away from your roof, walls, and foundation. But when they’re clogged with leaves, pine needles, or grit from asphalt shingles, they stop working.
That water starts pouring over the edge—pooling by your foundation, leaking into the basement, or backing up under your shingles. To schedule a gutter maintenance appointment, visit this site and get started.
What to do
- Scoop out debris by hand, or with a small gutter-cleaning tool.
- Flush with a hose to ensure water flows freely.
- Check downspouts—they should direct water at least 3–4 feet away from the house.
- Look for signs of sagging, rust, or leaks and fix them fast.
- Install gutter guards if leaves are a recurring problem.
Real-life reminder
A family in a leafy neighborhood skipped gutter maintenance for a couple of years. During a storm, water overflowed and crept into the basement. The result? $1,800 in water damage—and a musty smell that lingered for months.
A Few More Good Habits
Want to take your home care game up a notch? Keep an eye on these extras:
- Seal gaps around windows and doors with caulk or weatherstripping to stop drafts and leaks.
- Inspect siding for loose boards or cracked vinyl that could let moisture in.
- Check outdoor lighting and pathways—fix wobbly pavers and replace bulbs for safety and curb appeal.
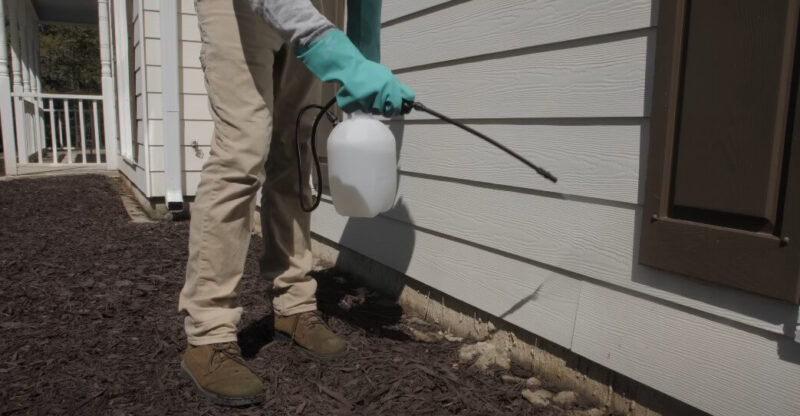
- Look for pests, especially where wood meets soil. An annual pest inspection can save thousands.
Wrapping It Up
You don’t need to be a contractor to keep your home in great shape—you just need a plan. By trimming vegetation, fixing concrete cracks, keeping up with paint, inspecting the roof, and cleaning the gutters, you’ll head off the most common sources of damage before they hit your wallet.
Maintenance doesn’t have to mean spending your weekends covered in dirt or paint. Spread tasks throughout the seasons, make a checklist, and call in the pros when needed. A $50 gutter cleaning or $20 concrete patch today could save you thousands down the line.
Protecting your home starts from the outside in—and a little effort now goes a long way in keeping your biggest investment strong, dry, and looking good for years to come.