
Wood floors are a timeless and elegant addition to any home. Installing wood bases can seem like a daunting task, but with the right preparation, it can be a smooth and seamless process. In this installation guide, we will provide you with some tips and tricks to prepare your space for a perfect wood base finish.
Acclimate your wood
If you are not confident in acclimating your wood floors to the environment, you may want to consider hiring professional wood floor installation services. Experienced professionals know the importance of allowing the wood to adjust to the temperature and humidity of the space before installation. This step is crucial for a seamless and long-lasting finish, and hiring a professional can ensure that it is done correctly.
Prepare your subfloor
The subfloor is the foundation of your flooring, and it must be prepared properly before installation. A well-prepared base will provide a smooth and level surface for your flooring, reducing the risk of any future problems such as warping or buckling. In this article, we will discuss some key steps to prepare your base for a seamless and long-lasting finish.
Remove any existing flooring
Before you can prepare your subfloor, you will need to remove any existing flooring. This includes carpet, tile, or any other material that may be covering your subfloor. Use a scraper, a pry bar, or a power tool to remove any adhesive, nails, or staples that may be holding the flooring in place.
Clean the subfloor
Once you have removed the existing base, it is time to clean the subfloor. Remove any debris, such as dirt, dust, or small pieces of flooring that may have been left behind. Sweep or vacuum the area to ensure it is completely clean before proceeding.
Check for levelness
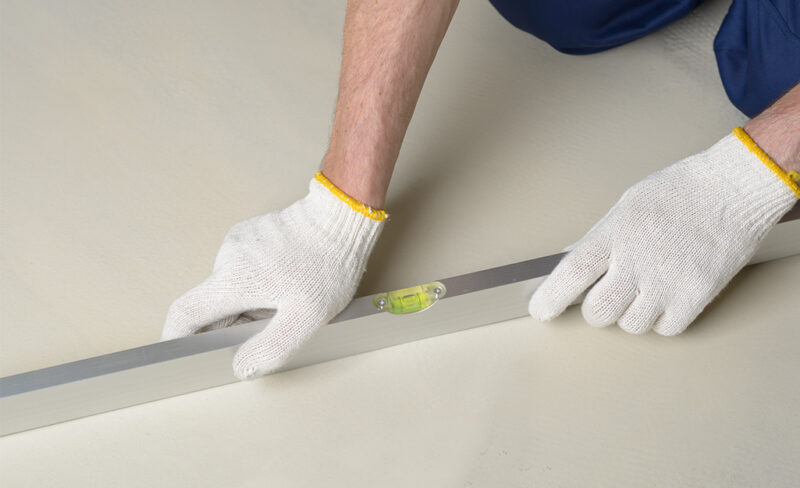
Levelness is crucial for a smooth and seamless finish. Use a straight edge or a level to check for any high or low spots on your subfloor. If you notice any high spots, sand them down until they are level with the rest of the base. For low spots, use a self-leveling compound to fill them in.
Address any moisture issues
Moisture can cause problems with your flooring, so it is important to check for any signs of moisture on your base. Use a moisture meter to check the levels and ensure they are within the manufacturer’s recommended range. If you notice any moisture issues, you will need to address them before proceeding with the installation.
Allow the subfloor to dry completely
If you have had to address any moisture issues, it is essential to allow the subfloor to dry completely before proceeding with the installation. This may take several days, depending on the severity of the moisture issue.
Check for moisture
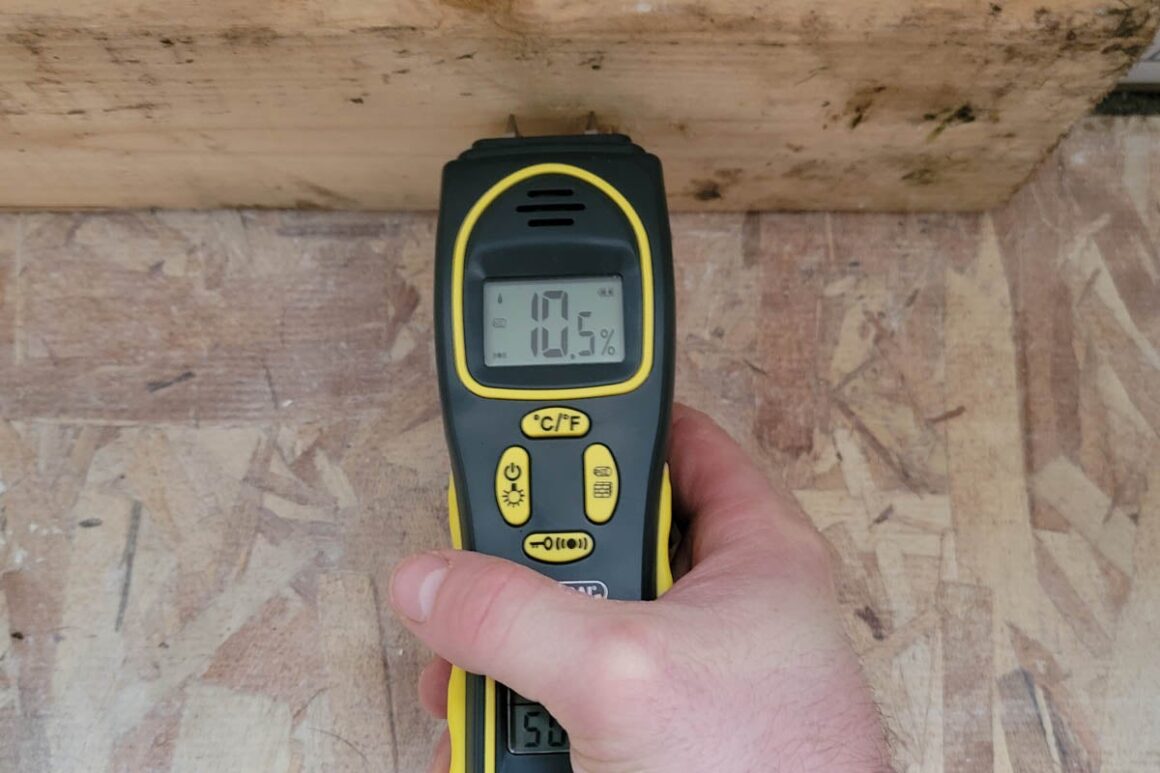
Moisture can be the enemy, so it is crucial to check for moisture levels in your base before installation. Use a moisture meter to check the levels and ensure they are within the manufacturer’s recommended range.
Consider underlayment
Underlayment is a layer that goes between the base and the wood basement. It provides extra cushioning, and soundproofing, and helps to reduce moisture. Consider adding an underlayment to your installation for a more comfortable and long-lasting finish.
Gather the right tools
One of the key elements of any successful project is having the right tools. Whether you are a DIY enthusiast or a professional contractor, having the right tools on hand can make all the difference in the quality and efficiency of your work. In this article, we will discuss some essential tools that should be part of any toolkit, whether you are working on a small DIY project or a large professional job.
Measuring and Marking Tools
One of the most basic and essential tools in any toolkit is a measuring tape. A good measuring tape will allow you to take precise measurements, ensuring that your cuts and installations are accurate. Other measuring and marking tools to consider include a level, a square, and a chalk line.
Cutting Tools
Whether you are working with wood, metal, or other materials, you will need a reliable cutting tool. Some essential cutting tools include a circular saw, a jigsaw, a reciprocating saw, and a handsaw. Each of these tools is designed for specific cutting applications and should be chosen based on the type of material you are working with.
Fastening Tools
Fastening tools are used to join materials together, and they are essential for many DIY and professional projects. Some of the most common fastening tools include a hammer, a nail gun, a staple gun, and a screwdriver. Each of these tools has its unique features and benefits, so it is important to choose the right tool for the job.
Safety Equipment
No matter what type of project you are working on, safety should always be a top priority. Essential safety equipment includes eye and ear protection, gloves, a hard hat, and a dust mask. Always wear the appropriate safety gear when working with power tools or hazardous materials.
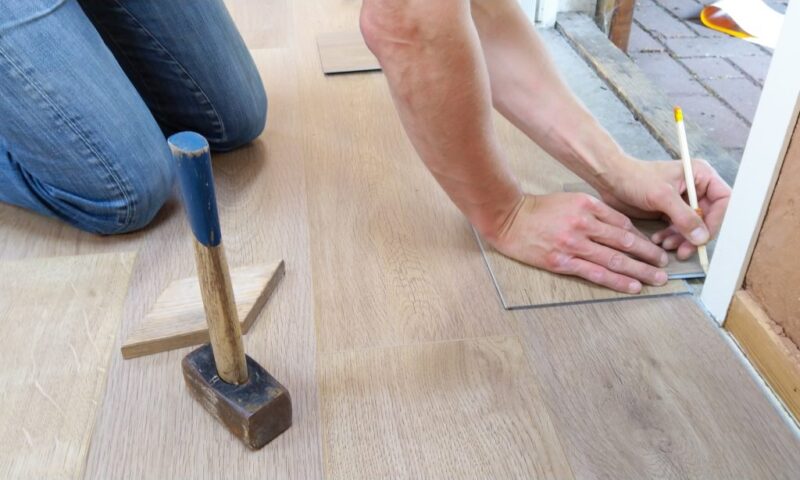
Measure twice, cut once
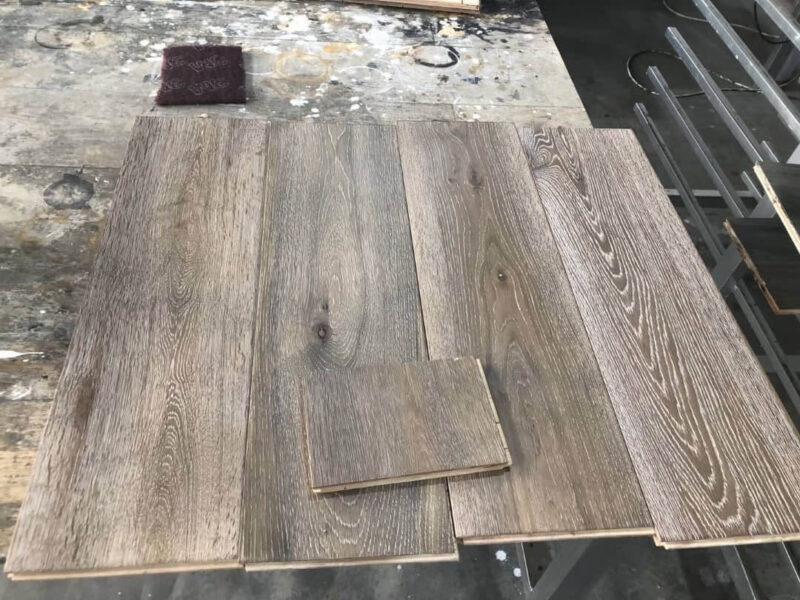
One of the most important steps in the installation process is measuring and cutting the wood. Make sure to measure accurately, and double-check your measurements before cutting. Cutting the wood incorrectly can lead to wasted materials and an uneven finish.
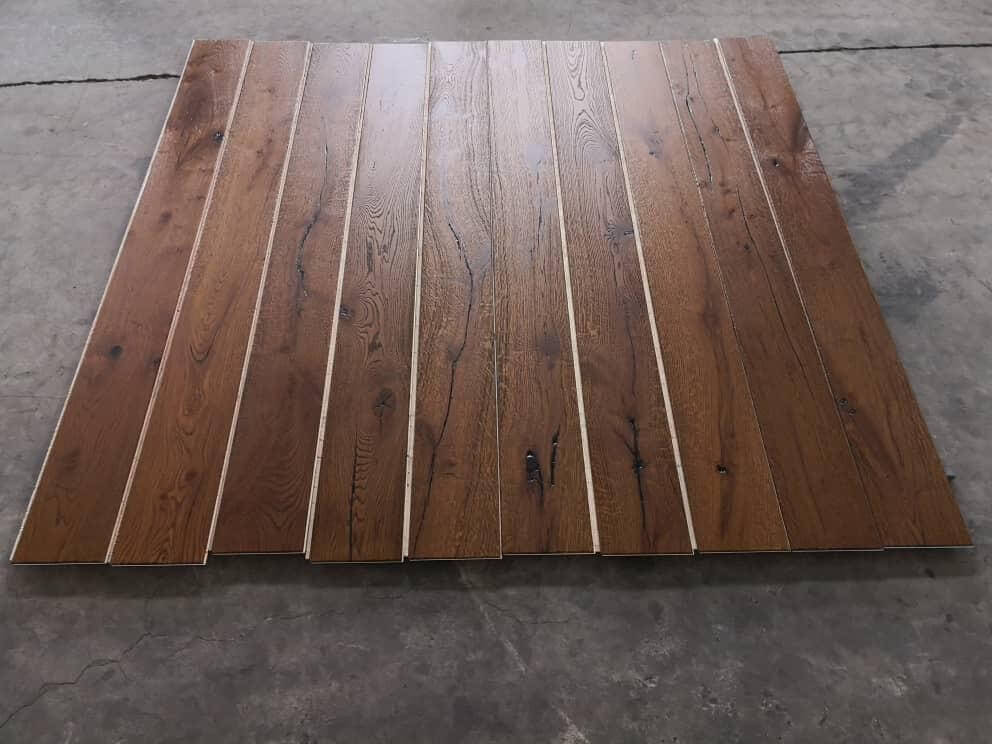
Plan your layout
Planning your layout is an important step in any flooring installation project. Consider the direction of the wood grain, the placement of furniture, and any patterns you want to create. This will ensure a seamless and aesthetically pleasing finish. Take the time to plan your layout for the best possible result.
Conclusion
In conclusion, preparing your space for a wood base installation is essential for a seamless and long-lasting finish. Take the time to acclimate your wood, prepare it, check for moisture, consider underlayment, gather the right tools, measure accurately, and plan your layout. With these tips and tricks, you will be well on your way to a beautiful and timeless wood floor.