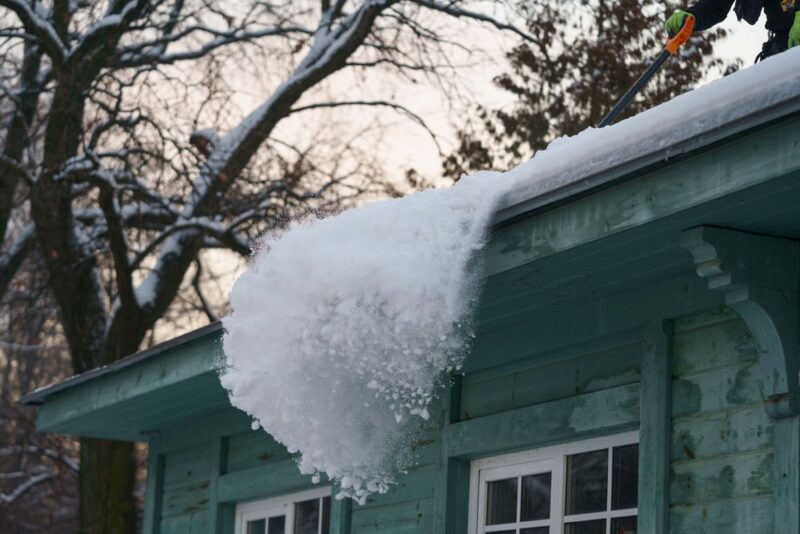
As the season’s change, so does the maintenance required for your home’s exterior. Just as you prepare your wardrobe for chilly weather, it’s essential to winterize your roof and gutters to prevent ice dams, leaks, and other damage. The top is significant in protecting the rest of the house from the elements, so it’s crucial to ensure it’s in good condition before the winter weather hits. Preparation can save you time, money, and effort later on.
But how do you prepare your roof for cold winter weather? This blog post will cover a few ways to prepare your roof for cold winter weather. By following these tips, you can rest assured knowing that your roof will be in good condition to protect your home all winter long.
1. Inspect Chimney
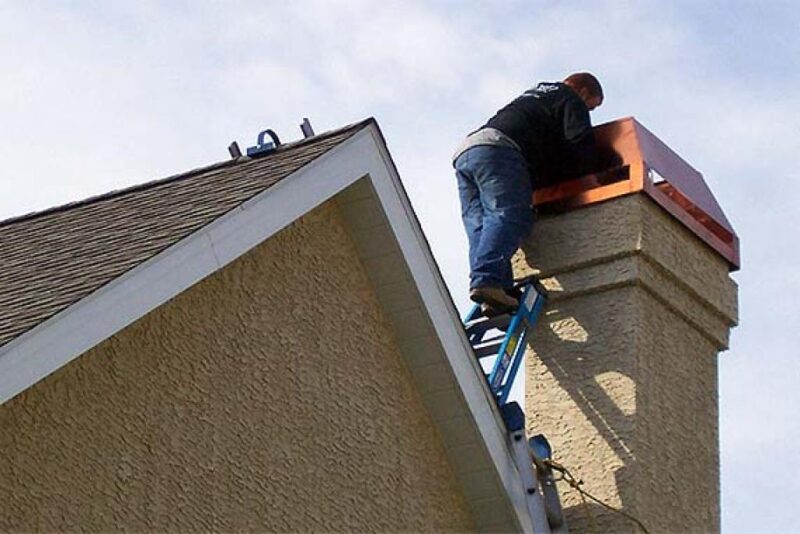
Your chimney plays an essential role in protecting your home from the elements. It helps to keep the heat in and the cold out. Any cracks or gaps in your chimney can allow cold air to enter your home, which can lead to higher energy bills.
Inspecting your chimney before the winter season can help prevent these problems. You can either do this yourself or hire a professional roofing contractors bellevue. If you choose to do it yourself, ensure you have the proper tools and safety gear. Hiring a professional chimney sweep is always the best option to ensure your chimney is in good condition and ready for the winter weather.
2. Examine Your Shingles
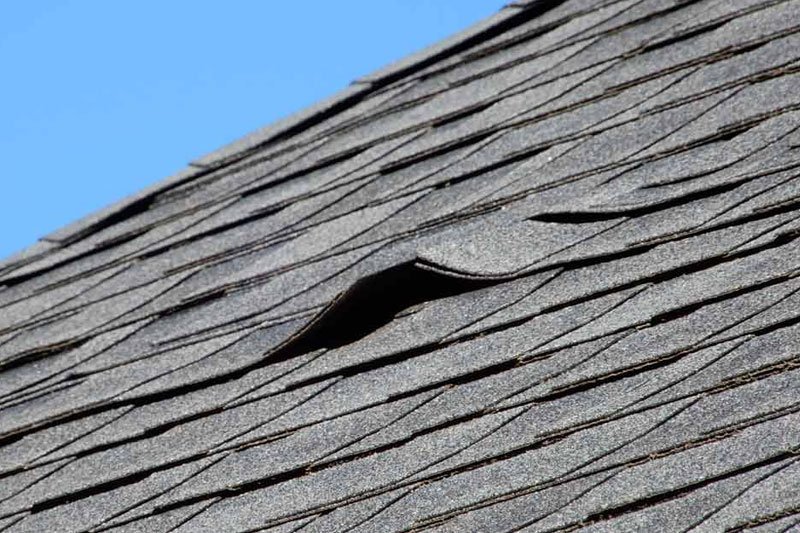
Shingles are the first line of defense against the elements, and they help protect your roof from damage. If your shingles are in poor condition, they may not be able to withstand the heavy snow and ice of winter. This can lead to leaks, water damage, and other problems.
Examining your shingles regularly is the best way to catch problems early and prevent them from becoming severe. You can do this yourself or hire a professional roofer to do it for you. Either way, ensuring your roof is ready for winter weather is essential.
By analyzing your shingles earlier, you can ensure they are in good condition and ready to withstand the winter weather. This will help you avoid costly repairs and keep your roof in top condition.
3. Uncluttered And Clear Your Gutters
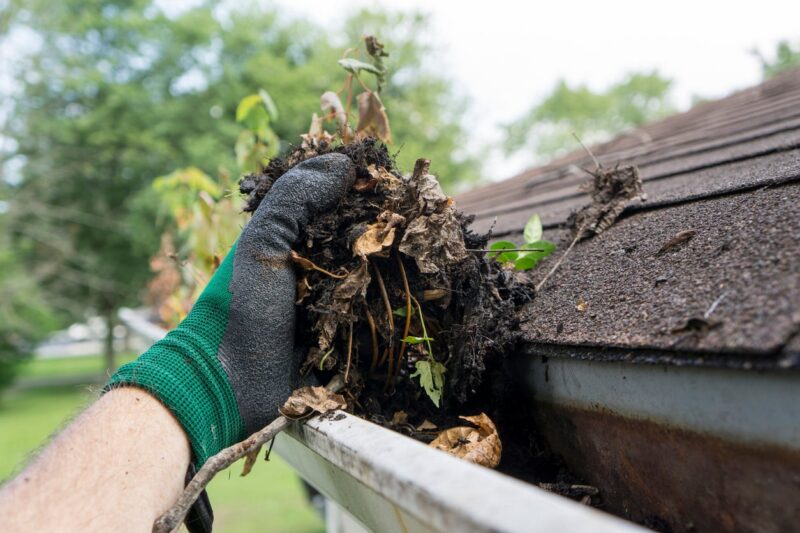
Your gutters are an essential part of your home’s exterior and play a vital role in protecting your roof from damage. When gutters are clogged with leaves and debris, they can’t do their job correctly. This can lead to several problems, such as water damage to your roof and leaks in your gutters.
Clearing your gutters before winter weather hits is crucial in winterizing your home. Not only will this help to protect your roof, but it will also help to prevent ice dams from forming in your gutters. Ice dams can damage your gutters and cause water to back into your home, leading to severe damage. So before the cold weather hits, clear your drains and prepare your roof for winter.
4. Gauge The Sealant
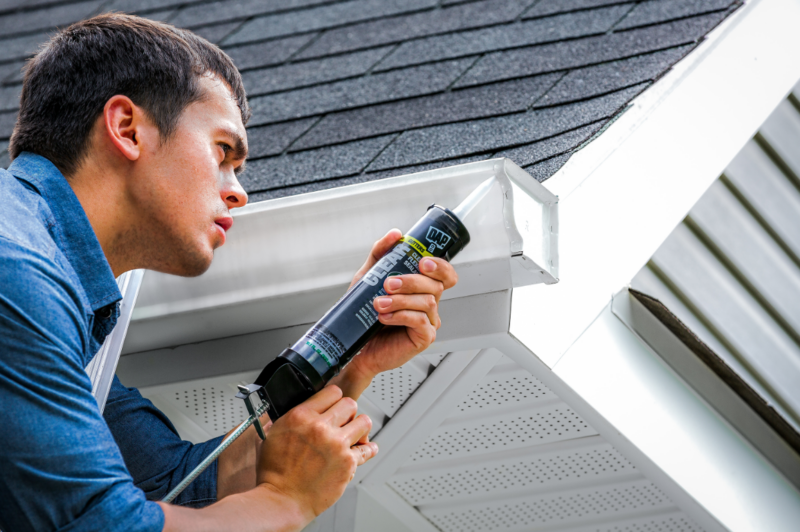
One crucial task is to check the condition of your sealant. Sealant is critical in protecting your roof from the elements, and it’s essential to ensure it is in good condition before the winter season begins.
One way to gauge the condition of your sealant is to pour a small amount of water onto it and then observe how it reacts. If the sealant is in good condition, the water should bead up and roll off the surface. If the sealant is cracked or worn, the water will soak into the surface and cause the bond to degrade.
Checking the condition of your sealant is a simple and essential task that will help you prepare your roof for cold winter weather. By doing this now, you can avoid problems later on when the weather gets worse.
5. Inspect The Flashing
Inspecting the flashing on your roof before cold winter weather sets in is essential. Flashing is the metal strips that seal the gaps around your chimney, vents, and skylights. If the flashing is damaged, it can allow water and ice to enter your home, which can cause severe damage.
Good roofing contractors will always check the flashing as part of their inspection process. However, you can also check it yourself. First, take a look at the condition of the shingles around the flashing. If you see any cracked, warped, or missing, the flashing is likely damaged.
Next, check the sealant around the edges of the flashing. If it’s cracked or missing, then water can quickly get through. Finally, check the nails that hold the flashing in place. If they’re loose or missing, the flashing isn’t secure and needs to be fixed.
6. Trim Large Tree Branches
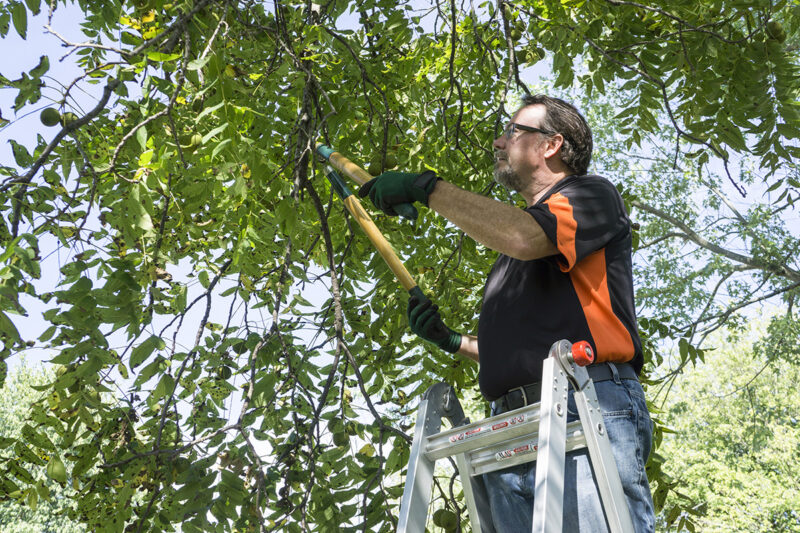
One task you should add to your to-do list is trimming large tree branches that could fall on your roof during a winter storm. Not only will this help protect your roof from damage, but it will also help keep your family safe. So take some time this autumn to trim those branches and help weatherproof your home for the winter ahead.
7. Have Your Roof Inspected Professionally
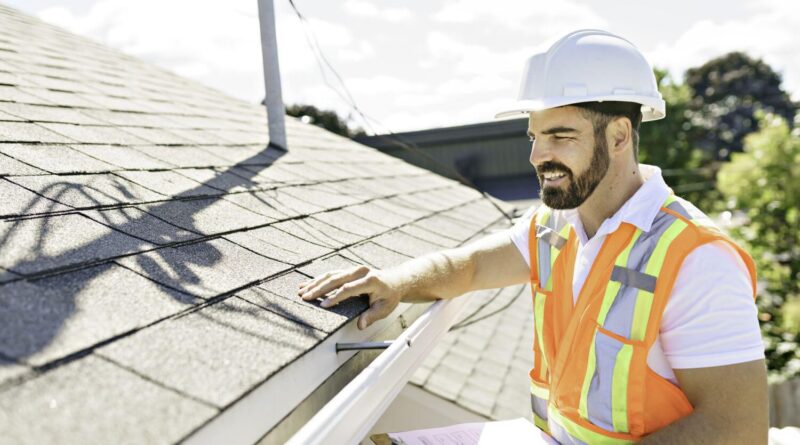
Your ceiling may start beating during the winter months, so it’s essential to make sure it’s in good shape before the cold weather hits. That’s why we recommend having your roof inspected by a professional before the winter season begins. A professional roof inspection can help identify potential problems so that you can make the necessary repairs before winter weather hits.
They will also check for wear and tear signs and ensure that your roof complies with local building codes. A professional roof inspection is the best way to ensure your roof is ready for the winter months ahead.
Bottomline
You can do several things to prepare your ceiling for cold winter weather. First, clear debris from your gutters and downspouts so that melting snow and ice can flow freely. Second, trim tree branches that hang over your roof to prevent them from breaking and falling during a winter storm. Finally, have a professional roofing contractor inspect your roof and make any necessary repairs before the winter season begins.

